Penang Logo Size Planning Guide
How to Choose the Right Logo Size for Shirt Printing
Choose the logo position first, measure the usable print area on the actual garment and approve a scaled mock-up before production.
Direct answer: The right logo printing size depends on the garment, placement, viewing distance, artwork shape and printing method. A compact left-chest logo should remain clear without dominating the shirt, while a front or back logo may need more width for visibility. Always test the logo at its intended dimensions on the actual garment size range instead of approving it only on a computer screen.
Clear and balanced branding
Why Logo Printing Size Matters
A logo can be technically correct but still look weak when it is too small, crowded when it is too large or inconsistent when one fixed dimension is used across every garment size. The goal is not simply to make the logo bigger. The goal is to keep the brand readable, balanced and suitable for the wearer’s role.
Logo proportions also affect production. Fine text, thin lines and narrow gaps may disappear when reduced, while wide designs can sit too close to seams, collars or plackets. A practical approval process considers the artwork, garment construction and print position together.
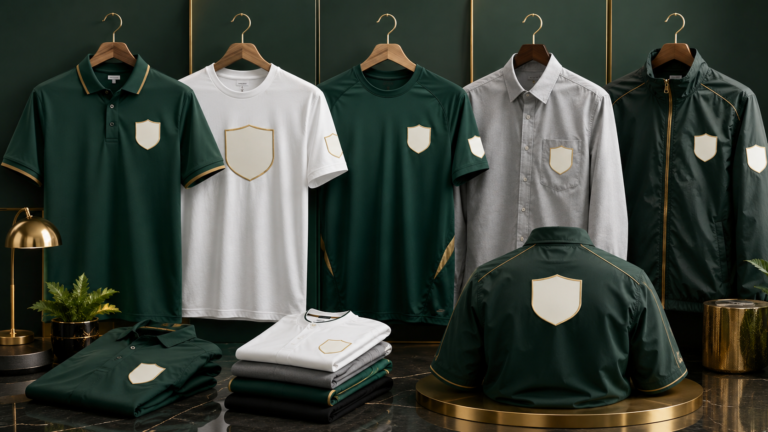
Quick comparison
Logo Size Starting Points by Print Position
Use these ranges as discussion starting points only. Final dimensions should be confirmed from the actual garment, artwork shape, size range and printing method.
| Print Position | Common Starting Width | Best Used For | Main Check |
|---|---|---|---|
| Left chest | About 70–90 mm | Company logos, school emblems and compact branding | Keep clear of the collar, placket and armhole. |
| Centre chest | About 100–150 mm | Event logos, campaign marks and medium front branding | Check vertical balance below the neckline. |
| Large front | About 220–300 mm | Promotional shirts and bold event artwork | Scale carefully for small garments. |
| Upper back | About 180–280 mm | Staff identification, sponsors and company branding | Keep enough space below the collar seam. |
| Sleeve | About 60–90 mm | Secondary logos, department marks and sponsors | Allow for sleeve curve and seam clearance. |
| Embroidered polo chest | About 60–80 mm | Corporate uniforms and premium staff polos | Confirm stitch detail and fabric stability. |
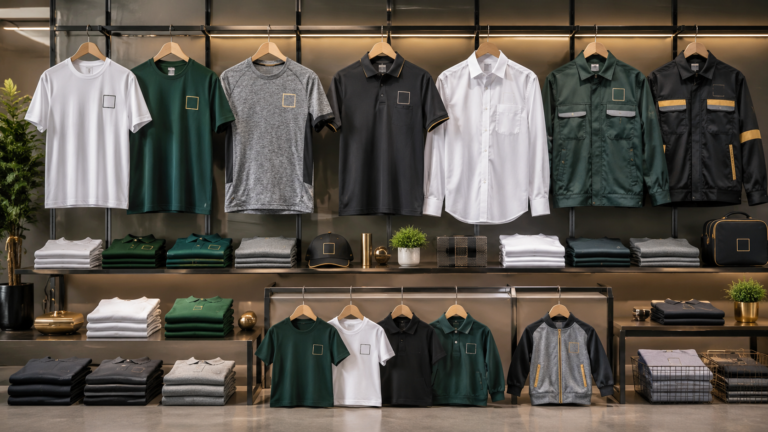
Garment and placement options
Choose Logo Size According to the Garment
The same logo may need a different treatment on a T-shirt, polo, work shirt or jacket. Garment construction changes the usable branding area and the visual balance.
Round-Neck T-Shirts
Round-neck shirts offer a broad front and back area for compact or large branding.
Review: neckline position, shirt width, artwork height and whether the design should remain consistent across smaller sizes.
Polo Shirts
Polo logos commonly sit on the left chest, where the collar and button placket reduce the available space.
Review: chest placement, placket clearance, embroidery density and pocket position when applicable.
Quick-Dry Shirts
Quick-dry garments can suit front, back and sleeve branding for outdoor staff, events and activity teams.
Review: fabric texture, stretch, ventilation panels and whether the print crosses seams.
Corporate Shirts
Button-up shirts usually need smaller, more controlled branding around the chest or sleeve.
Review: pockets, darts, seams, buttons and whether the logo should be printed or embroidered.
Workwear and Jackets
Jackets and workwear may provide larger branding zones but often include zips, reflective strips or reinforced panels.
Review: panel construction, lining, heat sensitivity and visibility from a working distance.
Children’s and Small Sizes
A logo approved on an adult shirt may appear oversized on children’s garments or very small adult sizes.
Review: a reduced-size artwork version, safe seam clearance and consistent visual proportion.
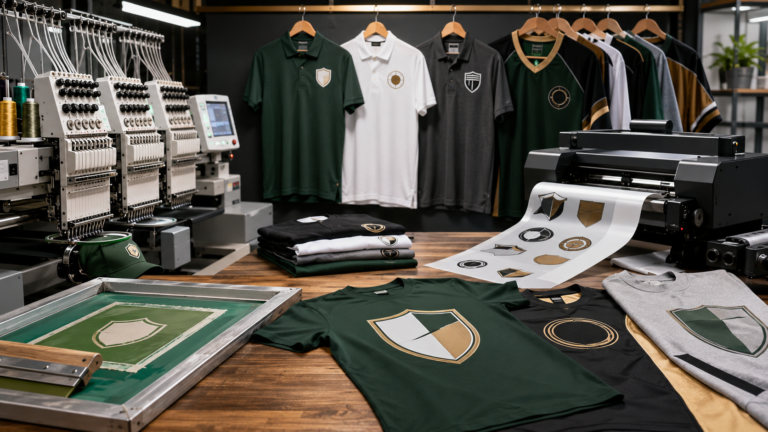
Printing and branding methods
How Printing Method Affects Logo Size
Each method handles small text, thin lines, colour detail and large coverage differently. Select the method after reviewing the final logo dimensions and garment fabric.
DTF Printing
DTF can reproduce colourful logos and fine artwork on many suitable garments, but very small details may still become difficult to read.
Size focus: simplify tiny text and confirm that thin gaps remain open at the final print dimensions.
Silk Screen Printing
Silk screen printing suits clear, repeatable artwork and can work well for medium or large logos across coordinated orders.
Size focus: use strong shapes, practical line thickness and enough spacing between colours.
Embroidery
Embroidery is commonly used for compact chest logos on polos, corporate shirts, caps and selected jackets.
Size focus: tiny lettering, narrow outlines and dense detail may need simplification before digitising.
Sublimation Printing
Sublimation supports large integrated artwork on suitable polyester garments, including logos placed within a complete jersey design.
Size focus: check the logo against pattern lines, seams, gradients and the final garment panels.
Heat-Transfer Personalisation
Selected transfer methods may be used for individual names, roles or numbers alongside the main company logo.
Size focus: keep letter height and spacing consistent across short and long names.
Mixed Branding Methods
An order may combine embroidery on the chest with printing on the back or sleeve when the garments and artwork are suitable.
Size focus: maintain one visual hierarchy so the secondary branding does not compete with the main logo.
Artwork, colour and placement
Prepare the Logo for Accurate Sizing
Good logo sizing starts with clean artwork and a clear placement plan. Measure the final design boundary, not the page or transparent canvas around it.
Keep the Original Proportion
Resize the logo uniformly. Do not stretch a wide wordmark taller or squeeze a crest narrower to force it into a print area.
Remove Empty Canvas Space
Crop unnecessary transparent space so the quoted dimensions match the visible logo rather than an oversized artboard.
Check Small Text and Thin Lines
Review taglines, registration marks, fine outlines and narrow gaps at the final production size, not only while zoomed in.
Use Strong Colour Contrast
A logo may need a light, dark or outlined version depending on the garment colour and printing method.
Allow Clear Space
Keep the logo away from collars, plackets, pockets, zips, seams and reflective strips so the branding does not feel crowded.
Approve the Real Dimensions
State the width and height in millimetres and confirm the placement distance from the collar, centre line or seam.
Scale the Logo Across Different Garment Sizes
Standard Adult Sizes
One standard logo size may work across a controlled adult size range when the placement is compact and the garment construction is consistent.
Very Small or Children’s Sizes
Prepare a reduced logo where the standard size would sit too close to seams or dominate the garment.
Extended Sizes
The same chest logo can remain consistent, but large back artwork may need review to avoid appearing proportionally too small.
Ordering process
How to Confirm Logo Printing Size
Choose the Garment
Confirm the brand, product code, colour, cutting and required size range before finalising the logo dimensions.
Select the Print Position
Decide whether the logo sits on the left chest, centre chest, back, sleeve or more than one position.
Measure the Usable Area
Check collars, pockets, buttons, zips, seams and garment panels that may reduce the available branding space.
Prepare the Artwork
Supply a clean vector or high-resolution file with the correct proportions, colours and visible logo boundary.
Review a Scaled Mock-Up
Confirm the stated width, height and placement on the correct garment style and representative sizes.
Freeze the Approved Specification
Record the final dimensions and placement so repeat orders use the same branding standard.
Buyer scenarios
Logo Size Priorities for Different Uniform Orders
Office and Retail Staff
Use controlled chest branding that looks professional at close customer distance.
Factory and Warehouse Teams
Consider stronger back branding or department identification that remains visible across a working area.
Events and Promotions
Larger front or back artwork may support visibility, photography and campaign recognition.
Catering and Hospitality
Compact chest or apron branding can keep the uniform neat while identifying the service team.
Schools and Clubs
Adjust crests and event logos for adult, youth and children’s garment sizes.
Multi-Branch Businesses
Record one approved size and placement guide so every branch receives consistent branding.
Common Logo Size and Placement Mistakes
- Approving a logo only from a zoomed-in computer preview.
- Measuring the transparent canvas instead of the visible artwork.
- Using one large logo size on adult and children’s garments.
- Placing chest artwork too close to a collar, placket or armhole.
- Reducing complex text and fine lines until they become unreadable.
- Stretching the logo to fit a fixed width and changing its proportion.
- Ignoring pockets, zips, seams, ventilation panels or reflective strips.
- Approving placement without stating the final width and height.
- Failing to save the approved dimensions for future repeat orders.
Final checklist
Information to Prepare Before Approval
Garment and Placement Details
- Garment brand and exact product code
- Garment colour and size range
- Front, back, sleeve or chest position
- Pocket, placket, zip and seam locations
- Adult, children’s or extended-size versions
Artwork and Production Details
- Vector or high-resolution logo file
- Final width and height in millimetres
- Approved logo colours and contrast version
- Selected printing or embroidery method
- Scaled mock-up and authorised approval
Frequently asked questions
Logo Printing Size FAQs
What is a good size for a left-chest logo?
A common discussion range is about 70–90 mm wide, but the correct size depends on the logo shape, garment, pocket, placket and printing method.
Should every shirt size use the same logo size?
One standard size may work for many adult garments, but children’s and very small sizes may need a reduced version. Large back artwork may also need review across the full size range.
Is logo width more important than height?
Both matter. The logo should keep its original proportions, and the complete visible artwork must fit the available print area.
Can a very small logo include a tagline?
Only when the tagline remains readable at the final production size. A simplified logo without the tagline may be more suitable for compact chest branding.
Does embroidery need a different logo size?
Embroidery may require thicker lines, larger lettering or simplified details because the design is converted into stitches.
How far should a chest logo sit below the collar?
The placement depends on the garment style and logo height. Confirm it on a scaled garment mock-up instead of using one fixed distance for every shirt.
Can the logo cross a seam or zip?
It is usually better to avoid structural features unless the garment and selected method are specifically suitable for that placement.
How do we keep repeat orders consistent?
Save the garment code, logo file, final dimensions, colours, method and placement reference with the approved order record.
Can printed uniforms be delivered to Penang?
Uniform Penang can review apparel supply and delivery arrangements for Penang, subject to order confirmation. Provide the complete receiving address and postcode.
Confirm your branding specification
Request a Penang Uniform Printing Quotation
Share the garment type, colour, quantity, size range, logo file, preferred print positions, estimated logo dimensions, required receiving date and Penang delivery postcode. The team can review the available garment and branding arrangement.
Useful Uniform Penang Resources
Uniform and Printing Services
Explore garments and customisation options.
View services →DTF Printing in Penang
Review detailed logo and artwork printing considerations.
Open guide →Silk Screen Printing
Review bold repeated logo printing for group orders.
Open guide →Corporate Uniform Buying Guide
Plan garments, branding, sizing and repeat orders.
Open guide →Uniform Penang Blog
Browse more uniform and printing guides.
Browse blog →Contact Uniform Penang
Submit garment, logo and quantity requirements.
Contact team →Our Regional Apparel and Printing Network
These websites belong to the same company or regional network.
JC Print Malaysia
Visit website →SelangorPrint
Visit website →Uniform Johor
Visit website →Uniform Sabah
Visit website →Uniform Singapore
Visit website →Uniform Hub Singapore
Visit website →Tanah Studio
Visit website →KitaPrint
Visit website →Disclosure: These are related company or regional network websites, not independent recommendations.