Embroidery in Penang
Small Logo Embroidery Design Tips
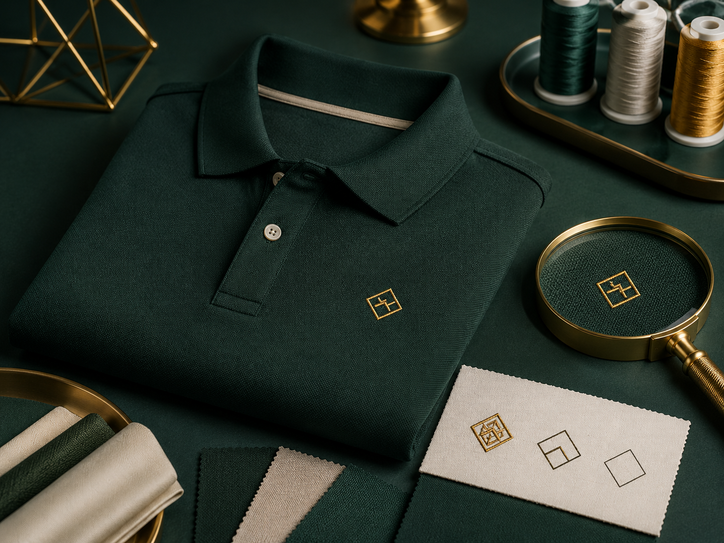
Small embroidered logos need clear shapes, practical lettering and balanced stitch density. A design that looks sharp on a screen may lose detail when reduced to chest, sleeve or cap size.
Direct answer: Keep a small embroidery logo simple. Use bold shapes, thicker lines, fewer tiny gaps and readable lettering. Avoid miniature text, thin outlines, detailed gradients and crowded icons. Confirm the final embroidery size before digitising because every detail must be converted into stitches.
Simplify the Artwork
Remove details that will disappear at a small stitched size.
Use Strong Lettering
Choose clear fonts with enough thickness and spacing.
Approve the Actual Size
Judge the logo at the size that will be embroidered.
Artwork comparison
What Works Well at Small Embroidery Size?
| Design element | Better choice | Risky choice | Why it matters |
|---|---|---|---|
| Logo shape | Bold and recognisable | Very detailed icon | Fine details can merge into the stitches |
| Text | Short wording in a clear font | Long slogan in tiny letters | Small letters can become difficult to read |
| Lines | Medium or thick strokes | Hairline outlines | Very thin lines may break or disappear |
| Spacing | Open gaps between elements | Tightly packed details | Close areas can fill in during stitching |
| Colour | A few clear thread colours | Complex gradients | Embroidery uses thread blocks rather than printed gradients |
| Border | Simple clean edge | Multiple thin outlines | Extra borders add density and bulk |
| Texture | Flat solid fills | Photographic shading | Thread cannot reproduce every printed texture |
Fast check: Reduce the logo to its final chest or sleeve size on screen. Any detail that already looks crowded should be simplified before digitising.
Placement planning
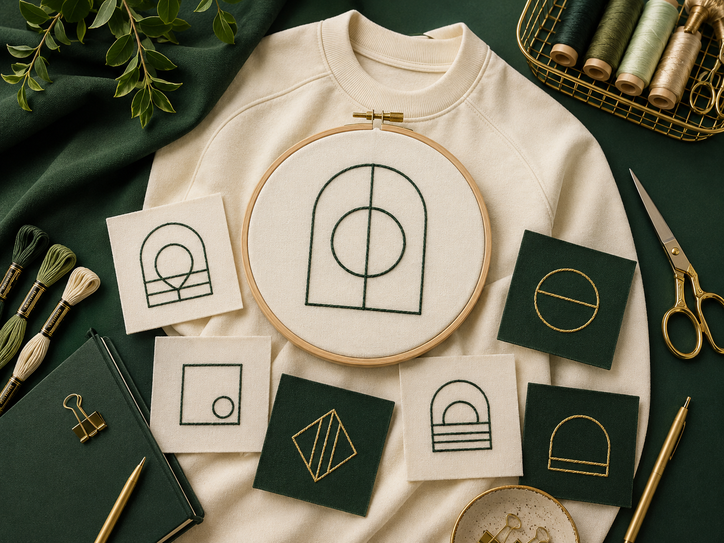
Choose the Logo Around the Garment Area
Left-Chest Logo
A common placement for polos, jackets and button shirts. Keep the artwork compact and balanced.
Sleeve Logo
Works for simple icons, initials or secondary branding with limited detail.
Cap Front Logo
Needs bold shapes because curved surfaces and seams can affect fine stitching.
Pocket-Area Logo
Keep the design small enough to fit the garment panel without touching seams.
Kids’ Apparel Logo
May need reduced dimensions and simpler details for smaller garment sizes.
Event Polo Logo
Use a clean group name, date or emblem rather than a long message.
Club Crest
Simplify internal lines and tiny symbols while preserving the recognisable outer shape.
Initials or Monogram
A strong choice when the full company or team name is too long for a small area.
Placement reminder: Seams, pockets, plackets, zips and fabric stretch can affect the usable embroidery area. Confirm the exact garment model before finalising the logo size.
Method choice
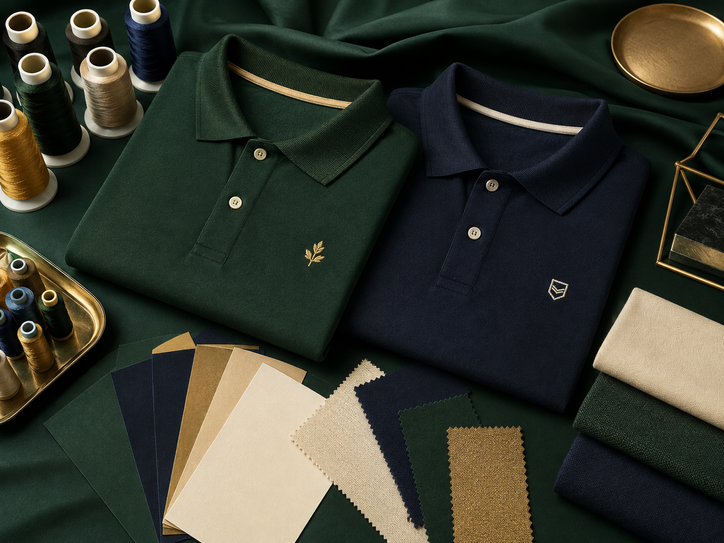
Know When Embroidery Is the Right Finish
Standard Flat Embroidery
Best for compact logos, names and simple crests with clean stitch fills.
Satin Stitch Lettering
Useful for medium-width text and outlines when the letters are not too small.
Fill Stitch Areas
Suitable for larger solid shapes that need even thread coverage.
Appliqué
Can reduce heavy stitch coverage for larger shapes, but it is less suitable for very small logos.
Printed Alternative
DTF may suit logos with gradients, tiny text or photographic detail better than embroidery.
Mixed Branding
Use embroidery for the main chest logo and printing for larger back artwork.
Decision rule: Use embroidery when the logo can be simplified into clear thread shapes. Use printing when the artwork depends on tiny detail, colour blending or photographic effects.
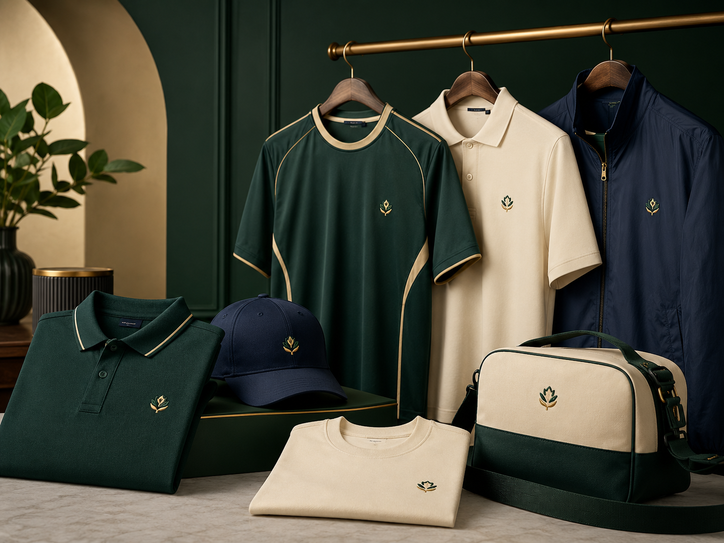
Design control
Six Details That Decide the Final Stitch Quality
Minimum Letter Size
Small letters need enough height, stroke width and spacing to remain readable.
Thread Direction
Different stitch angles help separate neighbouring shapes and improve definition.
Stitch Density
Too much density can make the logo stiff, bulky or distorted.
Fabric Stability
Soft, stretchy or textured fabric may need suitable backing and design adjustments.
Colour Contrast
Thread should stand out clearly against the garment colour.
Digitising Quality
The stitch file must be prepared specifically for the logo size, fabric and placement.
Common Small-Logo Mistakes
- Keeping every detail from the full-size logo
- Using very small text or thin script fonts
- Adding too many thread colours
- Placing narrow gaps between shapes
- Using several thin outlines around one element
- Approving only a digital mock-up
- Reusing one stitch file for very different logo sizes
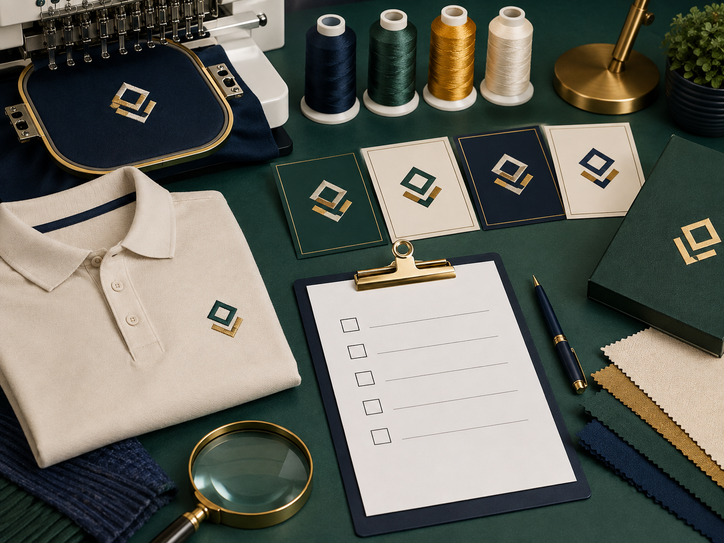
Embroidery workflow
Turn a Detailed Logo Into a Clean Stitch Design
Confirm the Garment
Choose the shirt, polo, jacket or cap before finalising the embroidery size.
Set the Final Placement
Decide the exact chest, sleeve or cap position.
Measure the Available Area
Check the width, height, seams and nearby garment features.
Simplify the Logo
Remove tiny details, narrow gaps and unnecessary wording.
Prepare the Stitch File
Digitise the artwork for the selected size and fabric.
Review a Sew-Out
Check text readability, shape definition, puckering and thread colours.
Approve the Final Reference
Keep the approved size, placement and thread details for repeat orders.
Practical examples
How to Simplify Different Logo Types
Use Initials or a Short Brand Name
Why: Shorter text can remain readable at chest size.
Keep the Main Silhouette
Why: The recognisable shape matters more than every internal detail.
Convert It Into Solid Thread Colours
Why: Embroidery uses separate thread areas instead of smooth printed blending.
Remove It From the Small Version
Why: A slogan that works on signage may not remain legible on a polo chest.
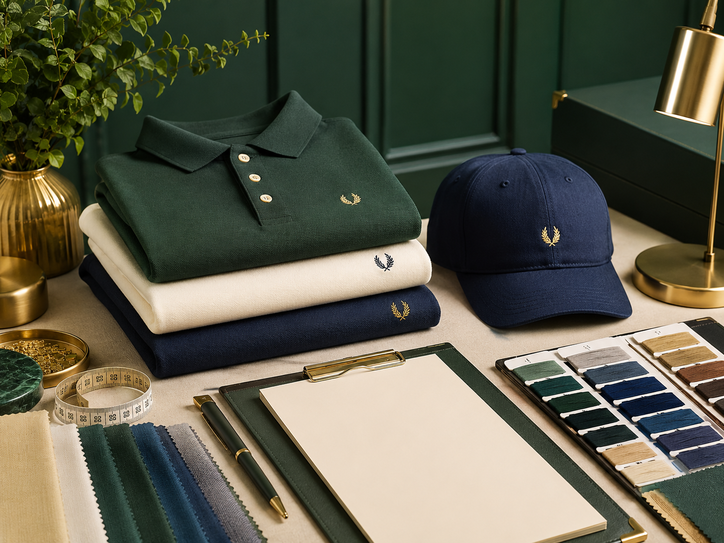
Artwork checklist
Prepare These Details Before Digitising
- Original vector logo
- Exact garment model
- Fabric type and colour
- Final placement
- Maximum logo width and height
- Preferred thread colours
- Wording that must remain
- Details that may be simplified
- Total quantity
- Required delivery date
Frequently asked questions
Small Embroidery Logo FAQ
Why does a small embroidered logo need to be simplified?
Embroidery converts the design into stitches. Very fine details, narrow gaps and tiny letters may merge or disappear.
Can embroidery reproduce gradients?
It can suggest shading with different thread colours and stitch directions, but it does not reproduce smooth printed gradients in the same way as DTF or sublimation.
What font is best for small embroidery?
A clear sans-serif or simple block font with enough thickness and spacing is usually easier to embroider than a thin script font.
Can I use the same embroidery file at every size?
Not always. A stitch file prepared for one size may need adjustment when the logo becomes much smaller or larger.
Why is a sew-out sample important?
It shows how the real thread, fabric, backing, text and shapes work together before full production.
Can a detailed logo be printed instead?
Yes. DTF or another printing method may be more suitable when tiny text, gradients or photographic detail must be preserved.
Does fabric affect a small embroidery logo?
Yes. Stretchy, thin or textured materials may require different backing, density and stitch planning.
Make the small logo clearer
Review Your Embroidery Artwork
Share the logo file, garment model, fabric, colour, placement, preferred size, quantity and required date. Uniform Penang can help identify details that may need to be simplified.
Useful Uniform Penang resources
Continue Planning the Logo and Garment
Pros and Cons of Embroidery
Compare durability, detail, fabric suitability and cost considerations.
Open the embroidery guide →DTF Printing
Compare printing for gradients, tiny details and colourful designs.
Explore DTF →Silkscreen Printing
Compare bold repeated artwork for larger quantities.
Explore silkscreen →Adult and Kids Size Guide
Plan logo dimensions around different garment sizes.
Open the size guide →Printing and Embroidery Care
Learn how to wash different customised garments.
Open the care guide →Which Method Lasts the Longest?
Compare embroidery and printing durability.
Open the durability guide →Uniform Penang
Explore shirts, polos, jerseys and custom apparel.
Explore Uniform Penang →Contact Uniform Penang
Send the logo, placement, garment and quantity.
Go to contact →Our other company websites
Regional Apparel and Printing Support
JC Print Malaysia
Regional apparel and printing support.
Visit website →Selangor Print
Regional apparel and printing support.
Visit website →Uniform Johor
Regional apparel and printing support.
Visit website →Uniform Sabah
Regional apparel and printing support.
Visit website →Uniform Singapore
Regional apparel and printing support.
Visit website →Uniform Hub SG
Regional apparel and printing support.
Visit website →Tanah Studio
Regional apparel and printing support.
Visit website →KitaPrint
Regional apparel and printing support.
Visit website →Product ranges, stock, colours, delivery coverage and service arrangements may vary by website and region.