
School order packing guide
How to Pack Shirts by Class and Student
Large school shirt orders become much easier to distribute when every item is sorted, labelled and checked before delivery. A clear packing system reduces missing shirts, size mix-ups, repeated handling and confusion on collection day.
Direct answer: Create one master order list containing each student's name, class, size, quantity and shirt type. Assign a unique reference number, prepare clear class and student labels, pack each student's shirts in an individual bag, then place those bags inside a larger carton or bundle for the correct class. Use a two-stage checking system before sealing: first check the student pack, then check the class total. Keep spare shirts, exchanges and unconfirmed orders separate from the completed class packs.
Reduce Distribution Errors
Individual labels make it easier to give the correct shirt, size and quantity to each student.
Save Teachers' Time
Class-by-class cartons allow teachers and coordinators to distribute shirts without sorting the full order again.
Control Missing Items
A master checklist records which packs are complete, pending, exchanged or held as spare stock.
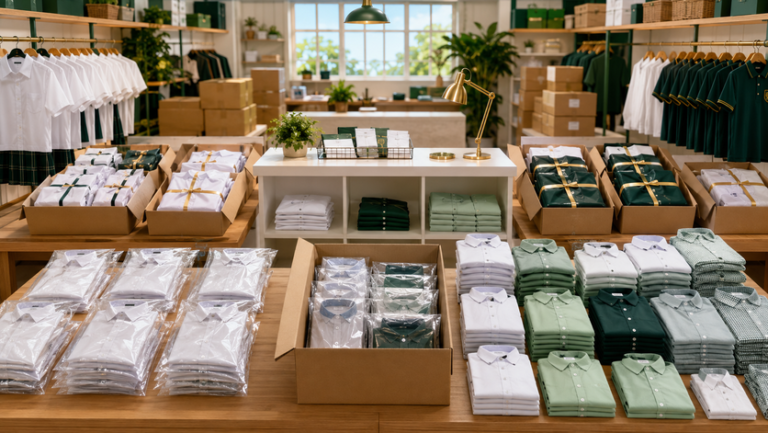
Quick comparison
Which Packing Method Fits the School Order?
The most suitable system depends on the number of students, whether names are confirmed and how the school plans to distribute the shirts.
| Packing method | Best suited for | Main advantage | Important control |
|---|---|---|---|
| Individual student packs | Confirmed name lists with one or more shirts per student | Fastest and clearest distribution method | Label every pack with name, class, size and quantity |
| Class packs by size | Orders without confirmed student names | Simple preparation using class and size totals | Teachers must assign the shirts during distribution |
| Class packs by student number | Schools that prefer privacy or use student IDs | Avoids printing full names on packaging | Provide a separate reference list to the coordinator |
| Team or club bundles | Sports houses, clubs, committees and co-curricular groups | Keeps activity orders separate from normal class orders | Use a different colour label or code for each group |
| Bulk carton by class | Large schools with many classes | Easy transport and handover to each class teacher | Show the class name and total number of packs on the carton |
| Central collection packs | Schools distributing from one office or collection counter | Allows controlled collection and status tracking | Arrange packs alphabetically or by reference number |
Recommended system: For most confirmed school orders, pack by student first and group by class second. This creates two clear identification levels and reduces the need to reopen every carton during distribution.
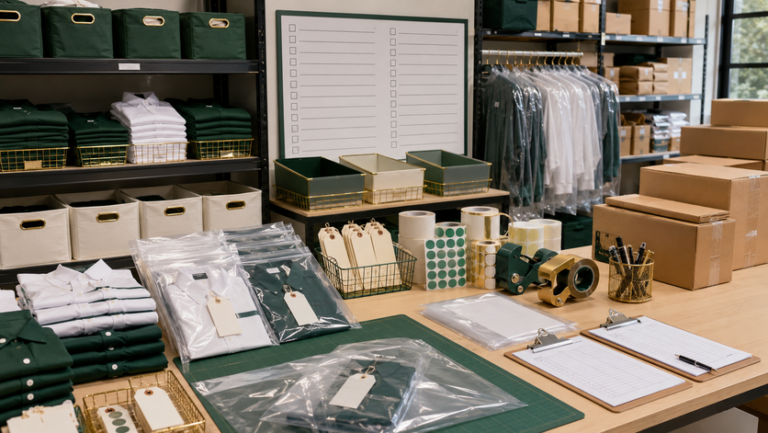
Packing materials and tools
Prepare the Right Materials Before Packing
A consistent set of bags, labels, cartons and checklists makes the packing line faster and helps every worker follow the same method.
Clear Garment Bags
Clear bags allow the shirt colour and folded garment to be seen without opening the pack. Select a size that fits the folded shirt without excessive empty space.
Printed or Written Labels
Each label should include the student's name or reference number, class, garment size, quantity and any special item such as a long-sleeve shirt.
Outer Class Bags or Cartons
Place all completed student packs for one class into a clearly marked outer bag or carton. Display the class name, pack count and teacher or coordinator where relevant.
Master Packing Checklist
Use one controlled list that shows every student, ordered item, packing status and checking status. Avoid maintaining several conflicting versions.
Colour-Coded Stickers
Colour stickers can separate year levels, shirt types, houses or order statuses. Keep the meaning consistent and include a simple legend for the packing team.
Pending and Exchange Area
Prepare separate containers for missing information, size changes, damaged items, late orders and spare stock so they are not mixed with completed packs.
Keep materials consistent: Changing label formats or carton markings halfway through the order can cause confusion. Approve one packing template before the full packing process begins.
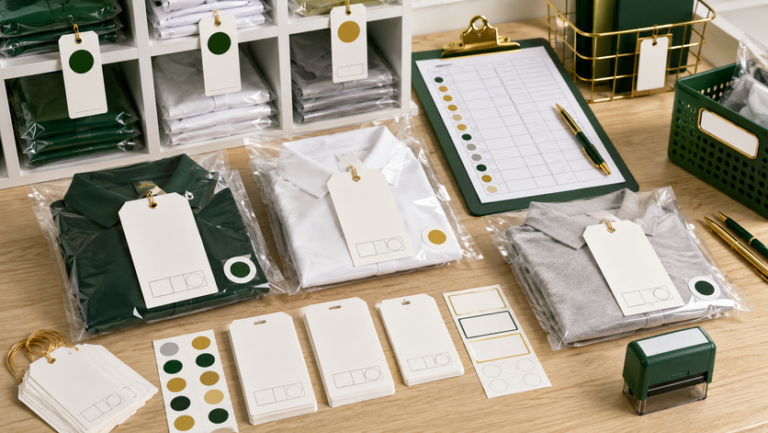
Labelling and identification
Build a Label System That Is Easy to Check
The label should provide enough information for packing and distribution without becoming crowded or difficult to read.
Student Name or ID
Use the spelling supplied by the school. When privacy is important, use a student number or reference code and keep the matching list with the authorised coordinator.
Class and Year
Write the full class code consistently, such as “5 Amanah” or “Form 2A.” Avoid using several abbreviations for the same class.
Size and Shirt Type
Show the exact size and item type, especially when the order includes round-neck shirts, polo shirts, long sleeves, sports jerseys or different colours.
Number of Pieces
Record the quantity inside the pack. This is important when one student orders several shirts or a combination of different garments.
Pack Reference Number
A unique reference number helps the team locate a student pack quickly and connect it to the master checklist during checking or exchange requests.
Packer and Checker Initials
Use small initials or check boxes to show who packed and who verified the order. This creates accountability without adding unnecessary paperwork.
Readable label format: Place the student's name or ID at the top in the largest text, followed by class, shirt type, size and quantity. Keep internal checking details smaller and separate.
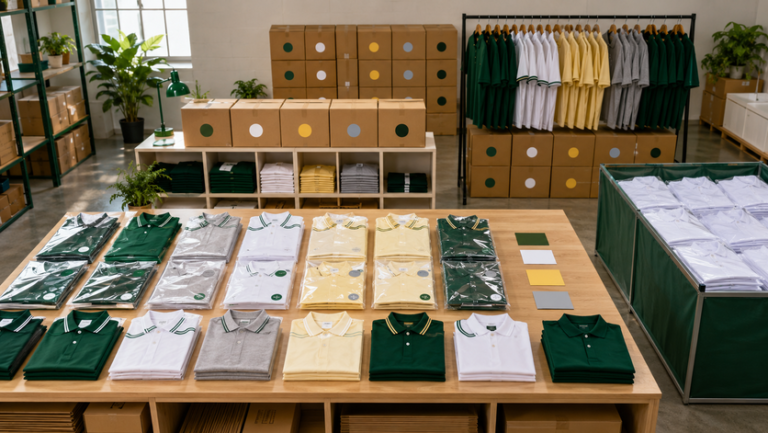
Packing layout and colour guide
Use a Simple Visual System for Large Orders
Clear label hierarchy, controlled colours and consistent carton markings help the packing team recognise each class and order status quickly.
Use One Label Template
Keep the same field order, font size and placement across all student packs. This makes visual checking faster and reduces overlooked information.
Assign Colours Carefully
Use colour coding only when it has a clear purpose, such as one colour per year level or order status. Too many colours can make the system harder to understand.
Keep Class Cartons Consistent
Place the class label on the same side of every carton and show the number of student packs inside. Use large text that remains visible when cartons are stacked.
Separate Shirt Variations
When students order different colours, sleeves or garment types, list each item separately on the label instead of using one general description.
Protect Printed Shirts
Allow freshly printed garments to be ready for packing according to the production process. Fold them consistently and avoid placing sharp objects or wet labels against the print.
Mark Order Status Clearly
Use clear terms such as “COMPLETE,” “PENDING,” “EXCHANGE” and “SPARE.” Never place incomplete packs inside a completed class carton without a visible note.
Common Packing Mistakes to Avoid
- Packing from an outdated student or size list
- Using handwritten labels that are difficult to read
- Mixing several classes on one packing table without dividers
- Placing incomplete orders inside completed class cartons
- Checking only the class total without checking each student pack
- Combining spare stock with confirmed student orders
- Sealing cartons before the second quality check is completed
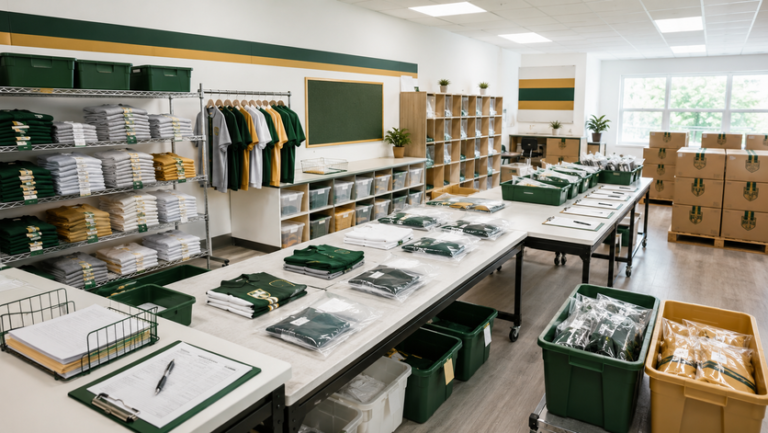
Packing workflow
A Step-by-Step Class and Student Packing Process
Work with one class at a time and use a controlled sequence. This prevents shirts from moving between packing stations without a clear record.
Finalise the Master Order List
Confirm student names or IDs, classes, shirt types, colours, sizes and quantities. Lock the version used for packing and record later changes separately.
Sort Finished Shirts by Item and Size
Create clearly marked stacks for each garment type, colour and size. Count the stock before starting the student packs.
Prepare Labels for One Class
Arrange the labels in the same order as the class checklist. Alphabetical order or student number order can make later distribution easier.
Pack Each Student's Order
Select the correct shirt, confirm the garment label, fold it consistently and place it into the individual bag with the student label facing outward.
Complete the First Check
Compare every packed item with the student's order line. Mark the pack as completed only when the size, type, colour and quantity match.
Group Packs by Class
Arrange the completed student packs in order and place them inside the correct class carton or outer bag. Record the number of packs inside.
Perform the Second Check and Seal
Verify the class name, student pack count and any pending items. Seal the carton only after the class total matches the master checklist.
Buyer scenarios
Example Packing Plans for Different School Orders
Pack by Class and Student Name
Suggested approach: Use individual clear bags with large name and class labels. Place each class into one carton and provide the teacher with a matching checklist.
Pack by Student ID
Suggested approach: Use student numbers for privacy and arrange packs in numerical order. Give the authorised coordinator a separate matching list.
Pack by House, Class and Student
Suggested approach: Use one sticker colour for each house, then group the individual packs by class inside the house carton.
Pack Multiple Shirt Types Together
Suggested approach: List every garment separately on the student label, then place all items in one larger pack. Use a second checker to confirm the combined quantity.
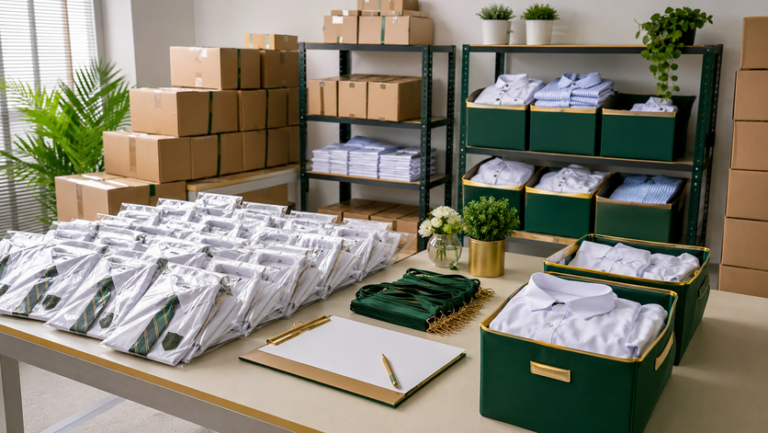
Packing checklist
Confirm These Details Before Packing Starts
- Final approved student and class list
- Correct garment model, colour and size chart
- Quantity ordered by each student
- Separate record of late changes and exchanges
- Approved label format and class naming system
- Enough individual bags, labels and cartons
- Clearly marked stock sorting area
- Separate pending, spare and damaged-item areas
- Named packer and second checker
- Handover checklist for each class coordinator
Useful order information: When requesting class and student packing, provide the final spreadsheet in a consistent format with one row per student and separate columns for class, name or ID, shirt type, colour, size and quantity.
Frequently asked questions
Class and Student Shirt Packing FAQ
What information should appear on each student pack?
Include the student's name or ID, class, shirt type, size and quantity. A pack reference number and checking initials can also help with internal control.
Is it better to pack alphabetically or by student number?
Use the same order that the school will use for distribution. Alphabetical order is easy for teachers, while student number order may suit schools with an established ID system.
How should spare shirts be packed?
Pack spare shirts separately by size, colour and garment type. Mark the carton clearly as spare stock so the shirts are not mistaken for confirmed student orders.
What should happen when a student's size changes?
Move the original pack to the exchange area, update the master list and prepare a new pack only after the replacement size is confirmed. Do not alter completed cartons without recording the change.
Can one bag contain several shirt types?
Yes. List every item separately on the label and confirm the combined quantity during both checks. Use a larger bag when necessary so the shirts are not compressed excessively.
How can a school protect student information?
Use student IDs or unique reference numbers on the outer labels and keep the matching name list with an authorised coordinator. Avoid showing unnecessary personal information.
Plan your school shirt order
Prepare a Clear Student Packing List
Share the school name, classes, garment type, colours, quantities, size list, required packing format and delivery date. Uniform Penang can review the order requirements and recommend a practical arrangement.
Useful Uniform Penang resources
Continue Planning the School Shirt Order
Use these related pages to compare shirt options, printing methods and ordering support before finalising the class packing list.
DTF Printing Guide
Review DTF for colourful school logos, detailed artwork and smaller mixed orders.
Explore DTF printing →Silkscreen Printing Guide
Learn where simple artwork and larger school quantities may suit silkscreen printing.
Explore silkscreen printing →Gildan Shirt Guide
Review Gildan options for class shirts, student activities and school events.
Explore Gildan shirts →Oren Sport Guide
Review quick-dry, sportswear and polo options for active school programmes.
Explore Oren Sport →Uniform Penang Services
View current school apparel, uniform and custom printing support.
Visit Uniform Penang →Contact Uniform Penang
Send the garment details, student list, quantities, artwork and deadline for review.
Go to the contact page →Our other company websites
Regional Uniform and Printing Support
Explore related company websites when the order involves another Malaysian region, Singapore, Australia, broader product sourcing or reseller support.
JC Print Malaysia
Corporate apparel, custom printing and broader garment sourcing support.
Visit JC Print Malaysia →Selangor Print
Uniform and custom printing enquiries for Selangor and the Klang Valley.
Visit Selangor Print →Uniform Johor
Uniform supply and delivery support for companies, schools, groups and events in Johor.
Visit Uniform Johor →Uniform Sabah
Custom apparel and uniform ordering support for customers throughout Sabah.
Visit Uniform Sabah →Uniform Singapore
Corporate uniforms, event apparel and custom printing support for Singapore customers.
Visit Uniform Singapore →Uniform Hub SG
Another Singapore-focused channel for uniform and customised apparel enquiries.
Visit Uniform Hub SG →Tanah Studio
Apparel and creative product support for customers seeking an Australia-based option.
Visit Tanah Studio →KitaPrint
Resources for agents and resellers interested in selling printed apparel online.
Visit KitaPrint →Product range, stock, delivery coverage and service arrangements may vary by website and region. Confirm current requirements with the relevant team before ordering.