Penang Shirt Printing Artwork Guide
How to Prepare Artwork for Shirt Printing in Penang
Prepare cleaner files, clearer print instructions and more reliable approvals before sending your T-shirt, polo, jersey or uniform design for production.
Direct answer: Use the original vector file whenever possible, or provide a high-resolution image at the final print size. Remove unwanted backgrounds, outline or supply fonts, confirm the exact print dimensions and position, identify every garment colour, and place names or numbers in a controlled list. Do not rely only on screenshots, chat-app images or low-resolution mockups.
Good printing starts before production
Why Artwork Preparation Matters
Artwork is more than the logo or picture that appears on a shirt. A production-ready file also communicates the intended size, position, colour, background treatment and version. When these details are missing, the supplier may need to redraw, trace, clean or reinterpret the design before printing can begin.
Clear artwork preparation helps buyers compare printing methods, approve a realistic layout and reduce avoidable mistakes involving spelling, logo proportions, transparent areas, personalisation data or print placement.
Uniform Penang is powered by JC Print & Office Sdn Bhd. Production and supply coordination are handled through the company’s Shah Alam facility, with apparel customisation and delivery arrangements available for Penang subject to garment, artwork and order review.
Correct Source File
Provide the editable or highest-quality original instead of a screenshot taken from social media or messaging apps.
Final Print Size
State the intended width or height in centimetres so the artwork is not enlarged or reduced without approval.
Clear Placement
Identify left chest, centre chest, back, sleeve or another position and show the relationship to seams and garment panels.
Approved Version
Keep one clearly named final file so old drafts, duplicate logos and unapproved wording are not used accidentally.
Choose the strongest file available
Artwork File Types Compared
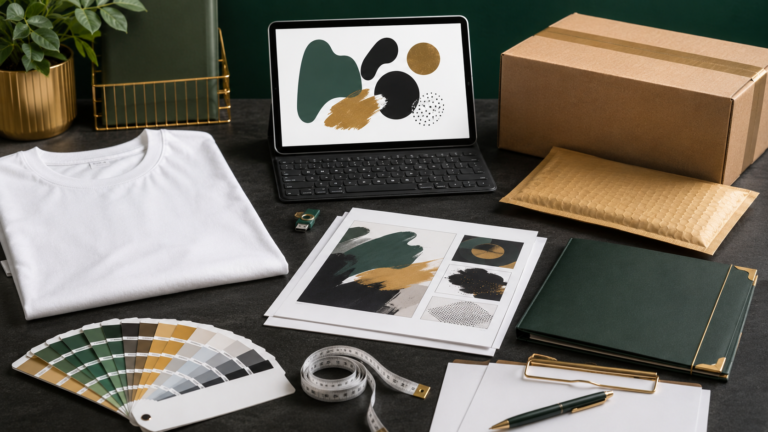
Different files contain different amounts of usable production information. The best file depends on the artwork and printing method, but editable vector artwork normally gives the supplier the most control over size, shape and colour separation.
| File Type | Typical Use | Main Advantage | Important Check |
|---|---|---|---|
| AI, EPS or editable PDF | Logos, wording, icons, line art and scalable graphics. | Shapes can usually be resized without losing edge quality. | Confirm fonts, linked images, effects and colour settings are included correctly. |
| SVG | Simple vector logos and digital graphics. | Scalable and compact when created properly. | Check that all fonts and external assets are embedded or converted. |
| PSD | Layered photo artwork, effects and raster compositions. | Layers can preserve editing flexibility. | Provide the full-size file with linked elements, fonts and transparent areas intact. |
| PNG | Logos or illustrations that require transparency. | Can preserve a transparent background. | Use a sufficiently large image at the intended print size; transparency does not guarantee high resolution. |
| JPG or JPEG | Photographs, flattened artwork and visual references. | Easy to preview and share. | Compression, low resolution and a fixed background may limit production use. |
| Screenshot or chat image | Reference only. | Quickly communicates the general idea. | Usually unsuitable as the final production file because detail, scale and colour information may be lost. |
Check the artwork before submission
Six Questions to Ask About Every Design
Is This the Final Version?
Remove old drafts and identify one approved design with a clear file name and revision date.
Is the Quality Sufficient?
Zoom in and check edges, small text, photographs and fine details at the intended physical print size.
Are Fonts Controlled?
Outline the text where appropriate or include the licensed font files needed to open the artwork correctly.
Is the Background Intentional?
Confirm whether the background should be printed, removed, made transparent or replaced with the shirt colour.
Are Colours Identified?
Specify critical brand colours and understand that screens, fabrics and printing processes can display colour differently.
Is Placement Documented?
State the garment side, print position, final size and any alignment requirement relative to seams, collars or pockets.
Prepare each artwork type correctly
Common Shirt Artwork and What Each One Needs
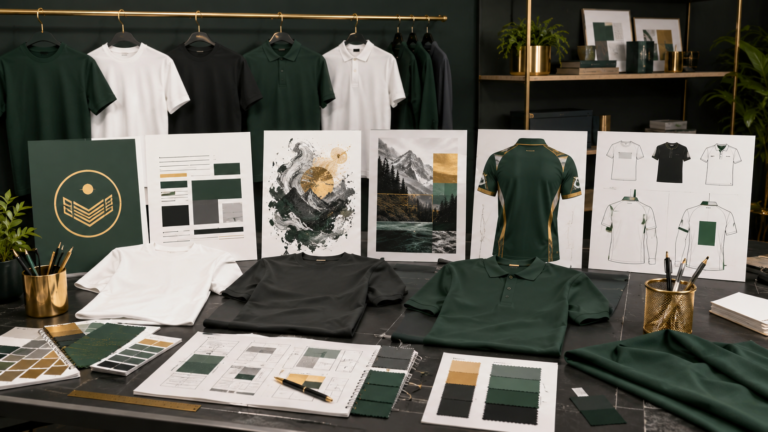
A simple one-colour logo, a detailed illustration and a personalised sports jersey should not be prepared in the same way. Organise the source file according to the design type and the information the printer must control.
Logos and Company Marks
Use the official master artwork rather than copying the logo from a website, letterhead or old printed shirt.
- Provide vector artwork where available
- Keep proportions unchanged
- Include approved colour references
Names, Slogans and Event Wording
Check spelling, capitalisation, punctuation and line breaks before converting text into the final artwork.
- Outline or provide the font
- Confirm final wording in writing
- Avoid text that is too small to reproduce
Illustrations and Full-Colour Designs
Keep the original high-resolution or layered source file so fine details, transparent areas and colour effects can be reviewed.
- Remove unintended white backgrounds
- Check thin lines and small details
- Preview against the shirt colour
Photos and Raster Images
Use the original photo rather than an image downloaded from a social-media post or compressed through a chat application.
- Check resolution at final print size
- Adjust crop and background intentionally
- Confirm usage rights and permissions
Names and Numbers
Supply a structured list that connects each spelling, number, garment size and shirt colour to the correct quantity.
- Use one controlled spreadsheet or table
- Do not submit data across many chat messages
- Approve the final consolidated list
Sublimation Jersey Artwork
Build the artwork on the supplier’s garment template and keep important content away from seams, trims and cut boundaries.
- Use the correct panel template
- Include bleed beyond cut lines
- Check every size and panel orientation
Do not confuse mockups with production files
What to Include in an Artwork Submission Package
Production Files
- Original editable artwork
- High-resolution linked images
- Fonts outlined or supplied appropriately
- Separate approved logo variations
- Personalisation data in one final list
- File names that identify the version clearly
Visual and Written Instructions
- Front, back and sleeve mockups where relevant
- Final print width or height in centimetres
- Garment style, colour and size range
- Print position for every artwork element
- Colour references for important brand colours
- One named person authorised to approve
Prepare for the selected process
Artwork Requirements by Printing Method
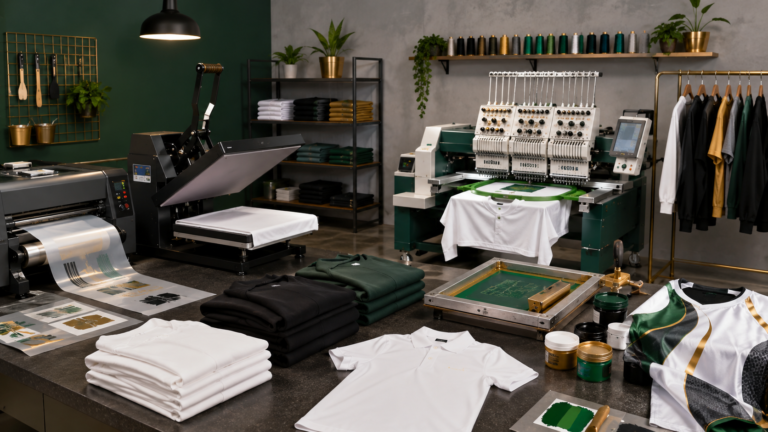
The same design may need different treatment for DTF, silk screen, embroidery or sublimation. Final suitability depends on the garment, fabric, artwork, quantity pattern and required finish.
DTF Printing
DTF can reproduce detailed multicolour artwork on many suitable garment types, but the file still needs clean edges, sufficient image quality and intentional transparency.
- Provide vector or high-resolution artwork
- Remove backgrounds that should not print
- Check small text and thin lines
- Confirm the exact finished print size
Silk Screen Printing
Silk screen artwork is normally organised by printable colour areas. Simple, clean shapes and controlled colours make separation and approval easier.
- Use vector shapes where possible
- Identify each print colour clearly
- Avoid unnecessary tiny details
- Confirm whether gradients or halftones are intended
Embroidery
Embroidery converts artwork into stitches. Very small letters, narrow gaps, soft shadows and photographic details may need simplification before digitising.
- Provide the clean original logo
- Identify the desired embroidery size
- Review simplified small-size versions
- Confirm thread-colour expectations
Sublimation Printing
Sublimation artwork is commonly prepared on garment panels. Patterns, logos, names and numbers must be aligned within the supplier’s template.
- Use the correct garment template
- Extend background artwork into bleed areas
- Keep key details away from seams
- Check panel direction and personalisation data
Know when the design needs work
Artwork Problems That May Require Redrawing
Pixelated Edges
The image looks rough or blocky when enlarged to the intended print size.
Missing Fonts
The file opens with substituted lettering because the original font is unavailable or not outlined.
Flattened Low-Quality Logo
The only available logo is a small JPG copied from a document, website or previous screenshot.
Unclear Background
White, black or coloured areas may be either part of the design or an unwanted canvas background.
Too Much Fine Detail
Thin lines, tiny text or narrow gaps may not reproduce clearly at the requested physical size.
Conflicting Versions
Several files contain different wording, colours or logo arrangements without a confirmed final choice.

Design for the actual garment
Match Artwork to Fabric, Shirt Colour and Placement
A design that looks clear on a white digital canvas may behave differently on black cotton, textured polo fabric, lightweight microfiber or a panelled sports jersey. Review the artwork together with the selected garment rather than as a separate decision.
Fabric Surface
Smooth and textured fabrics can affect how small details, narrow lines and solid colour areas appear. Confirm the method against the actual garment.
Garment Colour
Dark, bright or similar-coloured shirts may reduce contrast. Prepare a light or dark logo variation where the brand allows it.
Print Position
Pockets, buttons, collars, seams and zips can limit placement. Mark the design relative to the garment construction.
Artwork Size
A design should be sized for the intended visual impact and garment range. The same fixed size may look different across small and very large shirts.
Colour Expectations
Screen previews are not exact fabric or print samples. Identify critical colours and review a physical reference when colour accuracy is important.
Design Simplification
Reducing tiny details, excessive effects or weak contrast can improve clarity without changing the core identity of the artwork.
Control the details that buyers often miss
Colour, Resolution and Typography Checklist
Image Resolution
- Judge quality at the final physical size
- Use the original image rather than a forwarded copy
- Avoid enlarging a small raster image excessively
- Inspect faces, edges and fine details closely
Colour Information
- Identify important brand colours clearly
- Use one approved colour version
- Preview artwork on the selected shirt colour
- Expect some difference between screen and print
Text and Fonts
- Check spelling and punctuation
- Outline text or provide fonts appropriately
- Keep text large enough for the chosen method
- Confirm names and numbers separately
Avoid these artwork mistakes
Common Errors Before Shirt Printing
- Sending only a screenshot, thumbnail or image copied from a website
- Using a white-background JPG when the design requires transparency
- Leaving fonts editable without supplying or outlining them
- Providing several versions without identifying the approved final file
- Confirming placement visually but not stating the final print dimensions
- Submitting names and sizes across multiple chat messages
- Approving a mockup without checking spelling, colours and garment details
- Using artwork, photographs or logos without the necessary permission

A controlled artwork workflow
Step-by-Step: From Design File to Final Approval
Confirm the Garment and Printing Method
Identify the shirt style, fabric, colour, quantity pattern and required finish before finalising the artwork format.
Collect the Best Source Files
Locate the original vector, layered or high-resolution artwork and gather approved logos, fonts, photographs and colour references.
Clean and Organise the Artwork
Remove unwanted backgrounds, correct spelling, outline text where appropriate and separate each approved design variation.
Set the Final Size and Placement
State the intended width or height, garment side and position. Add a mockup or placement diagram as a visual reference.
Prepare Names, Numbers and Variations
Use one final table that connects each variable item to the correct garment colour, size and quantity.
Submit One Complete Artwork Package
Send the production files, preview, dimensions, garment details, quantity and contact person together.
Review the Supplier’s Proof
Check wording, colour references, scale, placement, garment selection and every personalised detail before approval.
Archive the Approved Version
Keep the final artwork, proof, size list and colour instructions together so repeat orders can be compared against the same reference.
Artwork planning by buyer type
Common Shirt Printing Scenarios
Company Logo on Polo Shirts
Provide the official vector logo, brand colours, left-chest dimensions and any separate light or dark garment version.
Club and Activity T-Shirts
Confirm the organisation name, event wording, committee list, sponsor logos and one approved artwork coordinator.
Jerseys with Names and Numbers
Use a structured data sheet and check every spelling, number, size and player assignment before approval.
Multi-Sponsor Event Shirts
Collect original sponsor logos, define a visual hierarchy and avoid using low-quality marks copied from websites.
Matching Group Shirts
Prepare one shared design and a clear list of optional names, nicknames or family roles without mixing instructions across messages.
Original Graphic Collection
Keep layered source files, commercial-use records, exact print sizes and separate artwork for each colourway.
Make repeat orders easier
What to Save After the First Order
Approved Artwork Records
- Final source and production files
- Approved proof or mockup
- Finished print dimensions
- Colour references and garment colour
- Printing method and print positions
Order Records
- Garment model and supplier code
- Size and quantity breakdown
- Personalisation list
- Approval date and contact person
- Notes about any approved changes
Final artwork checklist
What to Send to Your Shirt Printing Supplier
Artwork and Design Files
- Original editable or highest-quality source file
- High-resolution images and linked assets
- Outlined text or required fonts
- Transparent background where needed
- Approved logo and colour variations
- Simple preview image for reference
Production Instructions
- Garment model, fabric and colour
- Final print size in centimetres
- Front, back and sleeve positions
- Quantity and size breakdown
- Names or numbers in one final list
- Authorised contact person for approval
Frequently asked questions
Shirt Printing Artwork FAQs
What is the best file format for a shirt logo?
An editable vector file such as AI, EPS, SVG or a properly prepared PDF is usually the strongest option for logos and line artwork. A high-resolution transparent PNG may also be usable depending on the design and method.
Can I send a JPG for shirt printing?
Yes, when the JPG is large, sharp and suitable for the intended print size. However, JPG files do not preserve transparency and may contain compression, so the supplier should review the actual file before confirmation.
Is a PNG always high resolution?
No. PNG describes the file format, not the quality. A small PNG can still become pixelated when enlarged. Check the pixel dimensions and sharpness at the final print size.
Why does my logo need to be redrawn?
Redrawing may be needed when the only available image is too small, blurry, distorted, flattened, missing details or unsuitable for separating colours and shapes accurately.
Should I remove the background from my artwork?
Remove it when the background is not intended to print. Keep it when it is an intentional design element. State the intention clearly so white or coloured areas are not interpreted incorrectly.
How do I state the print size?
Provide the finished width or height in centimetres and identify the garment position. For example, state that a left-chest logo should be a specific width rather than saying only “small.”
Can one artwork size be used for every shirt size?
Sometimes one size is acceptable, but it may look proportionally different across a wide garment size range. Discuss whether one standard size or graded print sizes are more suitable for the design.
How should I submit names and numbers?
Use one final spreadsheet or table with separate columns for name, number, garment size, colour and quantity. Check spelling and assignments before approving the list.
Can Uniform Penang check my artwork before printing?
Uniform Penang can review the supplied artwork together with the garment, printing method, print position, size and order requirements. Additional artwork preparation may be discussed when the submitted file is not production-ready.
Prepare your file before production
Send Your Shirt Artwork for Review
Share your original artwork, garment type, shirt colour, printing method preference, final print size, placement, quantity and Penang delivery requirements. The team can review the project and identify information that may still be needed before quotation or approval.
Useful Uniform Penang Resources
Uniform and Printing Services
Explore apparel, printing and branding options.
View services →DTF Printing in Penang
Review detailed artwork and garment considerations.
Open guide →Silk Screen Printing
Understand artwork planning for repeated print colours.
Open guide →Corporate Uniform Buying Guide
Plan garments, logo placement and repeat orders.
Open guide →Uniform Penang Blog
Browse more apparel and printing guides.
Browse blog →Contact Uniform Penang
Submit your artwork, garment and order requirements.
Contact team →Our Regional Apparel and Printing Network
These websites belong to the same company or regional network.
JC Print Malaysia
Visit website →SelangorPrint
Visit website →Uniform Johor
Visit website →Uniform Sabah
Visit website →Uniform Singapore
Visit website →Uniform Hub Singapore
Visit website →Tanah Studio
Visit website →KitaPrint
Visit website →Disclosure: These are related company or regional network websites, not independent recommendations.